If you have pre-sold registrations to your event or included registrations to events in your membership packages, you can register these to account for the attendees on the event guest list tab.
- For the desired event, click the Guest List tab.
-
- Click Add New Registration.
- Select the desired registration fee(s) and proceed to check out.
- Select No Charge as the payment method.
-
- Click Checkout.
- On the Checkout Successful screen, click Continue.
-
- Best Practice: Enter the previously created invoice number or a reason for the no charge in the Reason/Comments text box.
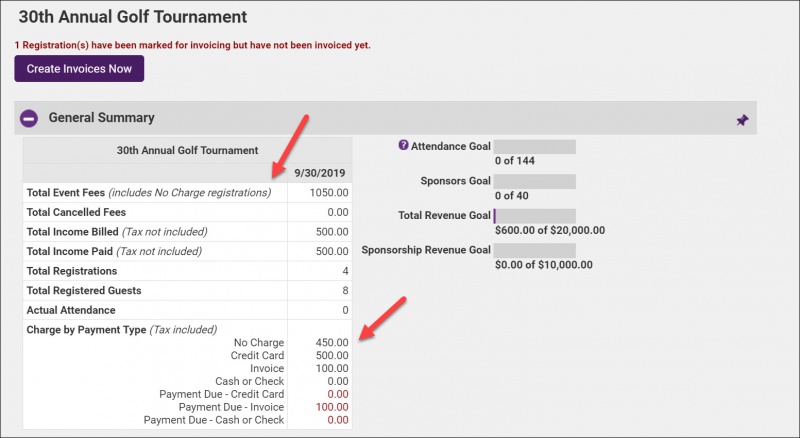
- Click Save & Close. No Charge registrations will be reflected on the event's account tab.


